


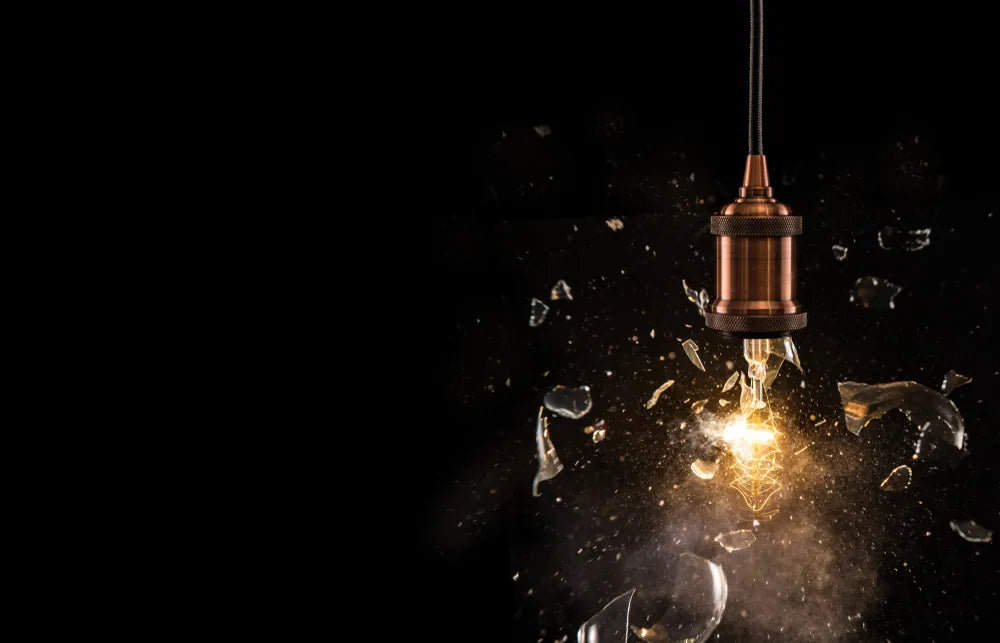
Dealing with a broken light bulb can be a frustrating and potentially hazardous situation. Whether the bulb shattered while you were trying to remove it or it broke due to an accident, knowing how to handle the situation safely is crucial. In this article, we’ll walk you through the steps to remove a broken light bulb safely and efficiently.
Why Is It Important to Remove a Broken Light Bulb Safely?
A broken light bulb can pose several risks, including:
Cuts from broken glass: The sharp edges of a broken bulb can easily cut your skin.
Electrical hazards: Exposed filaments or broken components can cause electrical shocks.
Fire risks: If the bulb is still connected to a live circuit, it could potentially cause a short circuit or fire.
By following the right steps, you can minimize these risks and remove the broken bulb without injury or further damage.
Tools You’ll Need
Before you begin, gather the following tools:
Thick gloves (preferably rubber or leather) to protect your hands from broken glass.
Safety goggles to shield your eyes from glass shards.
Needle-nose pliers or potato (yes, a potato!) for removing the broken base.
Duct tape or sticky tape for handling smaller glass fragments.
A flashlight to help you see clearly if the area is poorly lit.
Step-by-Step Guide to Remove a Broken Light Bulb
Step 1: Turn Off the Power
Safety first! Before attempting to remove the broken bulb, turn off the power to the fixture. Go to your circuit breaker and switch off the electricity to the room or area where the bulb is located. If you’re unsure which breaker controls the light, turn off the main power supply.
Step 2: Allow the Bulb to Cool
If the bulb was recently on, give it time to cool down. Handling a hot bulb can increase the risk of burns or further breakage.
Step 3: Put on Safety Gear
Wear thick gloves and safety goggles to protect yourself from sharp glass fragments.
Step 4: Remove Loose Glass Shards
Carefully remove any loose glass shards from the fixture using a pair of needle-nose pliers or your gloved hands. Place the broken pieces in a secure container for disposal.
Step 5: Extract the Broken Base
If the base of the bulb is still stuck in the socket, you have two options:
Option 1: Use Needle-Nose Pliers
Gently grip the edge of the broken base with the pliers and twist counterclockwise to unscrew it. Be careful not to damage the socket.
Option 2: Use a Potato
Cut a raw potato in half and press the cut side firmly into the broken base. Twist counterclockwise to remove the base. The potato provides a good grip and helps avoid further breakage.
Step 6: Clean the Socket
Once the broken base is removed, inspect the socket for any remaining glass or debris. Use a dry cloth or compressed air to clean it out.
Step 7: Dispose of the Broken Bulb Safely
Place all glass fragments and the broken base in a puncture-resistant container, such as a cardboard box or plastic bottle. Seal it securely and dispose of it according to your local recycling guidelines.
Safety Tips to Keep in Mind
Always turn off the power before attempting to remove a broken bulb.
Never use your bare hands to handle broken glass.
If you’re unsure about handling the situation, consult a professional electrician.
For LED or CFL bulbs, take extra care as they may contain hazardous materials.
FAQs About Removing a Broken Light Bulb
Q: Can I use a vacuum to clean up broken glass?
A: It’s not recommended, as small glass fragments can damage the vacuum. Instead, use tape or a damp paper towel to pick up tiny pieces.
Q: What if the broken bulb is in a hard-to-reach place?
A: Use a sturdy ladder and ensure you have a firm grip on your tools. If you’re uncomfortable, call a professional for assistance.
Q: Can I reuse the socket after removing the broken bulb?
A: Yes, as long as the socket is undamaged and clean, you can safely install a new bulb.
Conclusion
Removing a broken light bulb doesn’t have to be a daunting task. With the right tools, safety precautions, and a little patience, you can handle the situation safely and effectively. Remember to always prioritize safety by turning off the power and wearing protective gear. If you’re ever in doubt, don’t hesitate to seek professional help.
By following this guide, you’ll be well-equipped to tackle this common household issue and keep your home safe and well-lit.


Leave a comment
All comments are moderated before being published.
This site is protected by hCaptcha and the hCaptcha Privacy Policy and Terms of Service apply.